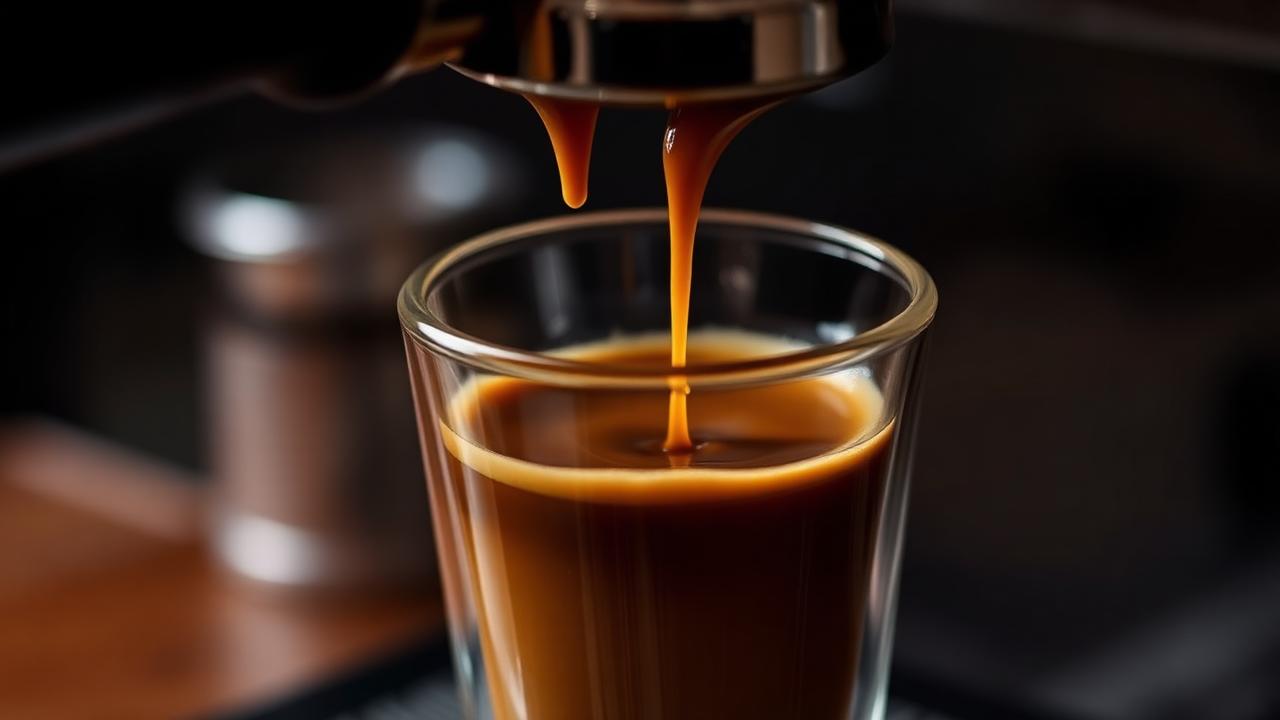
Dialling in can use several shots, particularly when the grinder, basket or coffee is unfamiliar. Changing several variables at once makes it hard to learn what mattered, so a simple written routine can reduce avoidable guesswork. The number of shots needed varies; no method can promise that every coffee will be settled in three or four pulls.
Start from a written reference recipe
Before pulling a shot, write down the dose, beverage yield and elapsed time you plan to compare. For example, a dose near 18 g and a yield near 36 g gives a 1:2 ratio; this is an illustrative starting recipe, not an ideal for every basket or roast. If you record shot time, use the same start and stop convention each time, and remember that time alone does not determine flavour.
Use the tool: the Espresso Parameter Calculator calculates a beverage yield from a selected ratio and dose, and records a flow-rate estimate from the time you enter. Use a scale to weigh the actual shot; the calculation does not decide when a coffee is finished or balanced.
Shot one: measure, do not judge
Pull a first shot with the current setting if the machine and grinder are operating normally. Record the dose, beverage weight and elapsed time, then taste it once it is cool enough. This gives you a baseline, not a complete diagnosis: coffee age, distribution, basket, water and machine behaviour can all affect the flow.
Next shot: compare the flow
If the shot runs noticeably faster or slower than your own reference, check the recorded dose, yield, puck preparation and grinder setting before adjusting. A faster shot is not automatically under-extracted, and a slower one is not automatically over-extracted. If a grind change is the best next test, move it a small amount that suits your grinder and keep the other recorded variables steady.
Keep the dose fixed while you do this. Changing dose and grind together makes the result uninterpretable.
Taste and choose a ratio trial
Once the shot lands near the target time, taste it properly:
- Sharp or salty to you: record the impression, then repeat the shot. If the result is consistent, test a modest grind, yield or temperature change, one at a time.
- Bitter, dry or ashy to you: check the coffee and roast as well as the recipe. Try changing one measured variable rather than assuming grind or temperature is the sole cause.
- Thin or watery: note the dose and yield, then taste the drink at a consistent serving temperature. A different ratio may help, but strength preference is personal.
- Dense or muted: compare a slightly different yield or recipe with the baseline. Do not assume that a short ratio is the only explanation.
Keep puck preparation consistent
Uneven water flow through a coffee bed can contribute to inconsistent extraction, but sour and bitter notes do not prove channelling. Prepare the puck consistently: distribute the dose as evenly as your workflow allows, tamp level with a compatible tamper and avoid disturbing the puck before locking in. A bottomless portafilter can reveal some visible flow patterns, but splashing or an uneven stream needs interpretation and does not diagnose every fault by itself.
Let the coffee rest, and then let it change
Roasted coffee releases carbon dioxide, and this can influence brewing, but the rate differs among coffees and packaging. Some beans benefit from resting after roasting; there is no universal day count or grind direction that applies through the life of every bag. Keep the roast date and grinder setting in your log, and if flow changes, check the full setup before attributing the change to degassing. The Bean Freshness Tracker can help record dates locally; it does not measure freshness or predict an ideal setting.
Keep a log
A compact log can include date, coffee, grinder setting, dose, yield, elapsed time and a short taste note. It gives you a personal reference for the combinations you have tried, not a map of every coffee from that roaster. The next bag may need new adjustments, but previous notes can help you choose a sensible first trial.
Separate measurement from preference
Numbers make an espresso trial comparable; they do not decide whether you enjoy it. Dose, beverage mass and elapsed time describe the shot you made. The taste note describes your response to it. Keep both. A shot that differs from a popular ratio may still be the version you prefer, and a shot that lands exactly on a target can still be disappointing.
Use one change per trial whenever practical. If you change the grind, dose, water temperature and yield at the same time, a better or worse cup cannot tell you which decision mattered. Start with a written reference, then choose the smallest next change that tests a clear idea. This approach also makes it easier to return to a previous setting when the trial was not an improvement.
Watch preparation and equipment limits
Flow behaviour can be influenced by the coffee, the grinder, basket condition, dose distribution, tamp level, machine temperature stability and the freshness of the beans. A fast or slow shot is therefore an observation, not a diagnosis by itself. Before making large grind changes, check that the basket is clean, the dose is measured, the scale is functioning and the recipe has been recorded.
Do not treat a bottomless portafilter, pressure gauge or app as a requirement for good home coffee. They can make some observations easier, but they do not replace careful measurement and tasting. Follow the espresso-machine and grinder manufacturer instructions for cleaning, maintenance and safety.
A responsible stopping point
Stop changing variables when you have a repeatable cup that you enjoy. Chasing a theoretical perfect extraction can waste coffee and obscure a useful recipe. The Espresso Parameter Calculator can calculate a stated dose-to-yield ratio; it cannot tell you the right setting for a particular coffee. Record the context, taste the result and adjust only when you have a reason.