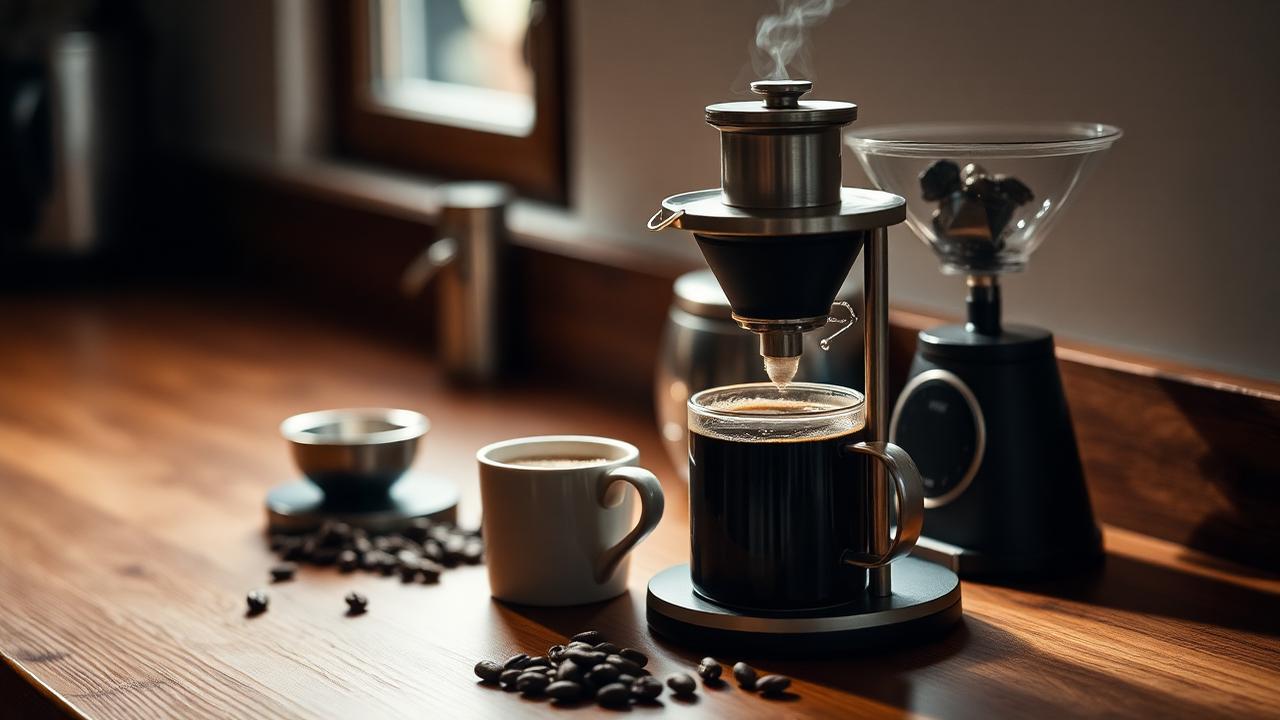
The AeroPress is a compact immersion brewer with several ways to vary a cup. Two people can use the same beans and device and still get different results because grind, water, steep time, agitation, filter and pressing technique all matter. That flexibility is useful, but it also means a recipe copied from someone else is a starting point rather than a promise.
This playbook gives four example recipes for different serving styles and explains what to record when you adapt them. They are not official specifications or guaranteed outcomes; use them to make a first controlled trial, then adjust to your coffee, equipment and taste.
What the AeroPress actually does
Mechanically, the AeroPress combines steeping with a plunger-driven filtration step. Grounds contact water in the chamber before the plunger moves the drink through a paper or compatible metal filter. The force a person applies is not a calibrated pressure, and it should not be confused with espresso pressure. Use a comfortable, steady press and follow the device maker's instructions for assembly and filter compatibility.
Immersion can make it easier to wet the bed without managing a pouring pattern, but it does not guarantee identical extraction from every particle. Grind distribution, stirring, water temperature, steep duration and how quickly the brew is pressed all affect the result. Paper and metal filters also produce different amounts of sediment and oils in the cup, so keep the filter type constant when comparing recipes.
Recipe one: an everyday starting point
As one control recipe, try the upright orientation with a rinsed paper filter, 15 g of coffee ground medium-fine and 230 g of water. Start around 92 °C if that is practical for your kettle. Add the water, stir gently a few times, fit the plunger and press at a comfortable pace after a short steep. These quantities and timings are an example, not a standard; note the filter, coffee and actual timing so you can repeat the trial.
Keep this version unchanged while testing another recipe. If the cup is too intense for your taste, dilute it after brewing or use a little more water next time. If it tastes sharp, dry or muted, do not assume that one sensory word proves a specific extraction problem; first repeat the recipe, then change one measured variable. The point of a control is comparison, not a claim that it suits every roast.
Use the tool: the Coffee to Water Ratio Calculator scales this 1:15 recipe to any mug size, and the Multi-Stage Brew Timer will cue the stir, the steep and the press.
Recipe two: the inverted long steep
Assemble the brewer upside down with the plunger already inserted a centimetre or two, so water cannot drip through during the steep. Use 17 g of coffee ground medium, 220 g of water at 94 °C, stir once at the start and once at 1:30, then attach the rinsed filter cap, flip onto your mug at 2:15 and press.
This version changes the steep and the handling, so compare it with the control rather than assuming that it will always taste sweeter or fuller. It can be an interesting trial when you want a larger-feeling cup, but the result depends on the coffee, filter and press. Inverted brewing adds a step and creates a spill risk: use a stable, heat-safe mug and follow the brewer maker's assembly guidance. If the flip feels awkward, use the upright method instead.
Recipe three: concentrate for milk drinks
For a small, concentrated serving to mix with milk, one possible experiment is 22 g of coffee with 90 g of water, a fine grind and a short steep. The amount that reaches the cup will be lower than the water added because grounds and the device retain liquid. Start with a gentle press; a finer grind can make plunging harder, and forcing the plunger is not a useful way to chase a stronger drink.
This is not espresso: the equipment and brewing process are different, and the cup will not have the same texture as espresso made on a machine. Whether it stands up to milk depends on the coffee, concentration and amount of milk. If the result tastes harsh, try a coarser grind, less agitation, a shorter steep or cooler water one at a time. Do not treat a particular temperature as proof that the brew is over-extracted.
Recipe four: Japanese-style iced
Put 60 g of ice directly into the receiving vessel. Brew with 17 g of coffee and 150 g of water at 94 °C, medium-fine grind, steeping for one minute before a 20-second press. The hot concentrate lands on the ice, melts it, and finishes at roughly a 1:12 total ratio while chilling almost instantly.
This is a quick way to make an iced serving without waiting for a hot drink to cool. The final strength depends on how much ice melts, so weigh the ice if you want to repeat a result. Some people prefer this style for a bright coffee; others prefer a longer chilled brew. Compare it with your usual iced method before deciding which beans or roast level are worth using.
Troubleshooting by symptom
- Sharp or thin: these are observations, not a diagnosis. Repeat the brew and check the dose, water amount and steep before trying a slightly finer grind or longer steep.
- Dry or bitter to you: first check whether the coffee itself tastes that way in another brew. If the recipe seems responsible, try a coarser grind, less agitation or a shorter steep, changing one thing at a time.
- Very hard to press: a fine grind, high dose, filter choice or trapped pressure may contribute. Stop if the press feels unsafe; do not force it. Check assembly and filter placement against the device instructions.
- Muddy or gritty cup: check for a damaged or mis-seated paper filter, and remember that metal filters generally let more sediment and oils through than paper. Choose the filter for the cup you prefer.
Designing your own recipe
Once you have tried the four examples, build a recipe by deciding what you want to learn. Dose and water mass influence strength, while grind, steeping, agitation and pressing can influence the cup in overlapping ways. Filter choice also changes texture. Pick one change, write down what happened and repeat the trial before making a broad conclusion. A recipe from a video or article is useful as a starting point, not evidence that the same numbers will work with your coffee.
Keep a short log — date, beans, dose, water, temperature, time, and one sentence of tasting notes. The Tasting Note Assistant gives you a structured vocabulary for that last part, which is the hardest and most useful habit to build.